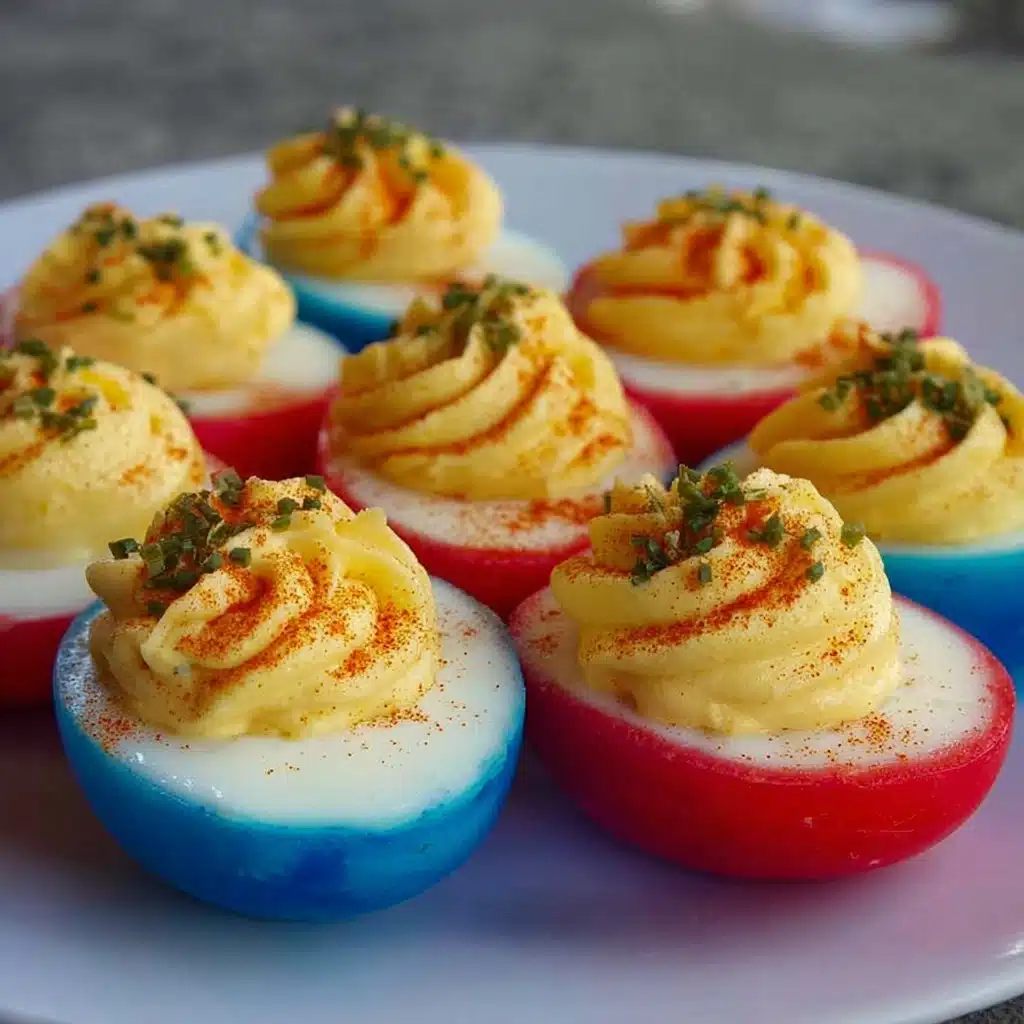
If you love festive appetizers that spark conversation and delight every guest, you’ll fall head-over-heels for Red, White and Blue Deviled Eggs. These beauties steal the show at any patriotic gathering, with vibrant stripes created by a clever (and surprisingly simple!) dying technique. They’re not just pretty faces, though—the creamy, zippy horseradish filling packs incredible flavor inside a silky yolk. Whether you serve them on the Fourth of July, Memorial Day, or simply want to bring a pop of color to brunch, Red, White and Blue Deviled Eggs are guaranteed to impress.
Ingredients You’ll Need
You only need a handful of ingredients for these show-stopping deviled eggs, but every item on the list pulls its weight. The magic here is in how these basics combine to bring out color, texture, and layers of flavor—all while keeping things totally approachable for home cooks.
- Red gel food coloring: A concentrated hue is key for achieving those bold, playful stripes without watering down your eggs.
- Blue gel food coloring: Just a few drops create vibrant blue bands and bring the “wow” factor (be sure to use gel, as liquid colors can dilute your dye baths).
- Water: Acts as a base for the food coloring baths—use just enough to submerge half of each egg at a time.
- Toothpicks: The secret tool for suspending your eggs in the dye, so you get crisp, clean red and blue stripes—no mess, no fuss!
- Hard-cooked eggs: Eight eggs form the canvas for your artful bands and also deliver plenty of creamy yolk for the rich filling.
- Mayonnaise: This classic ingredient ensures the filling is ultra-smooth and just the right kind of rich.
- Prepared horseradish: Adds a little kick! The hot kind works best for balancing the creamy base.
- Rice vinegar: A splash brightens the filling and ties all the flavors together.
- Salt: Essential for bringing out every flavor in the mixture—taste and adjust to your preference.
- Black pepper: Freshly ground gives a bit of sharpness and depth in each bite.
- Smoked hot paprika: Adds a hint of smokiness and color to finish the deviled eggs—plus, it looks gorgeous dusted on top.
- Fresh chives (optional): A sprinkle of snipped chives brings garden-fresh flavor and a final pop of green color—totally optional, but highly recommended!
How to Make Red, White and Blue Deviled Eggs
Step 1: Prepare Your Dye Baths
Set the stage by combining your red food coloring with about 1/3 cup of water in a small bowl or ramekin. Repeat the process in a second ramekin with your blue food coloring. The vivid hues might look intense at first, but that’s exactly what you’re going for—these Red, White and Blue Deviled Eggs are meant to be bold and bright!
Step 2: Dye the Eggs for That Patriotic Flair
Here comes the fun part! Take each peeled hard-cooked egg and carefully insert three or four toothpicks halfway through the center—not too deep, or the eggs could split when sliced. Gently balance an egg using the toothpicks and rest one end in the red dye for 5 to 10 minutes, depending on how vibrant you want the color. Flip and repeat with the blue bath on the other end. Each egg emerges with a red, white, and blue ribbon effect right in your kitchen. Set eggs on paper towels to dry before slicing.
Step 3: Halve and Separate the Eggs
Once your eggs have fully dried and you’re wowed by those stripes, carefully slice each one in half lengthwise. Pop out the yolks into a mixing bowl, and arrange the dazzling whites on your serving platter. Take an extra moment to admire your handiwork—these deviled eggs already look like a celebration!
Step 4: Make the Zesty Filling
For the smoothest, dreamiest yolk mixture, push the yolks through a fine sieve or use a potato ricer—no lumps allowed! Add the mayonnaise, prepared horseradish, rice vinegar, salt, and pepper, then stir everything together until ultra-creamy. Taste and adjust the seasoning; now’s your chance to make the filling as tangy or spicy as you like.
Step 5: Pipe and Decorate
Spoon your yolk filling into a piping bag fitted with a large star tip for that iconic deviled egg flourish. Pipe each egg white half until it’s generously filled. For the finishing touch, place smoked paprika in a fine mesh strainer and gently tap it over each egg to give them a dusting of color and a hint of smoky heat. Sprinkle chives on top if you want extra freshness. Your Red, White and Blue Deviled Eggs are ready to chill—or display for your guests to marvel at!
How to Serve Red, White and Blue Deviled Eggs
Garnishes
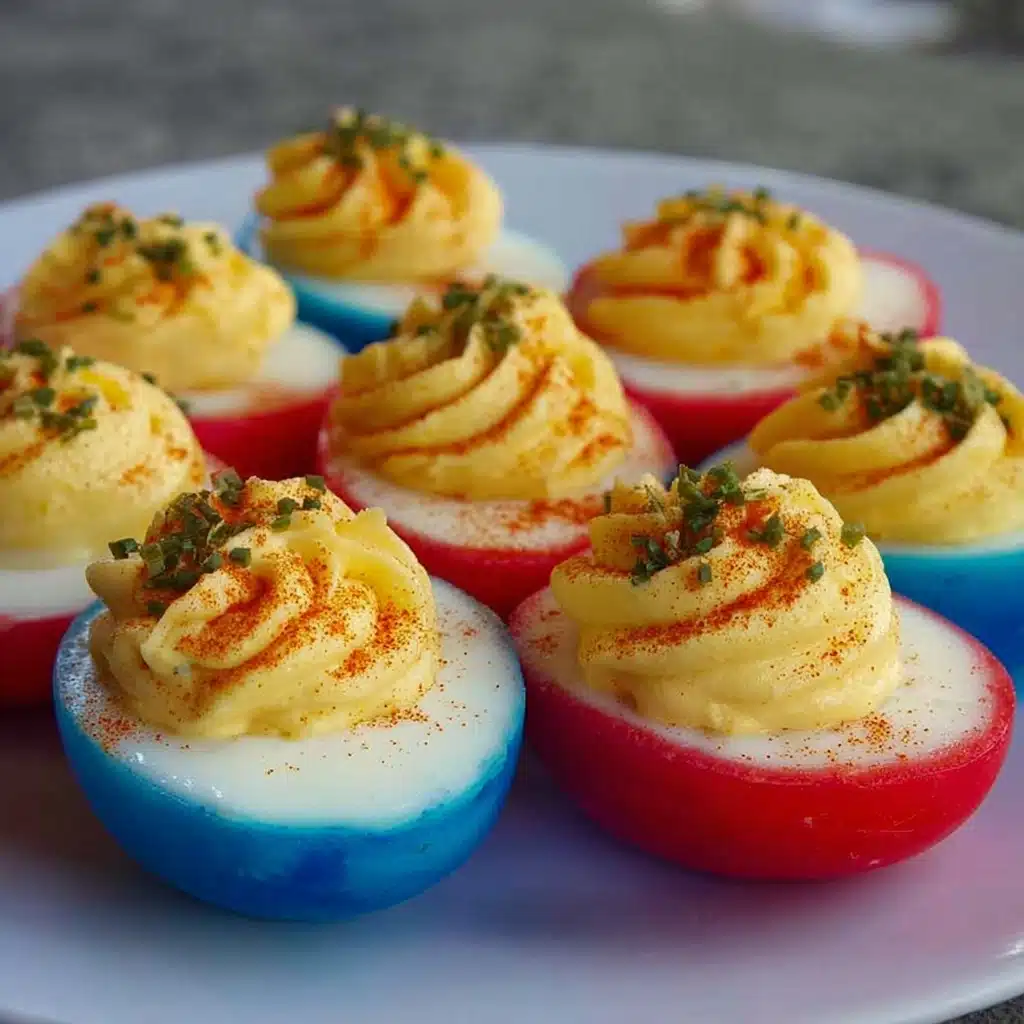
A sprinkle of smoked paprika and a few snips of fresh chives transform these eggs from tasty to truly irresistible. If you want to take it up another notch, try a few festive edible flowers or a tiny sprig of dill for added whimsy. With those striking stripes, minimal garnish is all you need!
Side Dishes
Pair your Red, White and Blue Deviled Eggs with all your classic BBQ favorites: think juicy grilled burgers, tangy coleslaw, crispy potato chips, or even a watermelon salad. These deviled eggs also make the perfect starter for brunch, especially alongside a platter of fresh fruit and flaky pastries.
Creative Ways to Present
Go for a star-shaped platter or arrange your eggs in concentric rings for a firework-style effect. If you’re serving a crowd, set the platter atop a red and blue napkin or garnish the tray with a few pinwheels for a holiday vibe. Don’t be surprised if your Red, White and Blue Deviled Eggs steal the spotlight on your holiday table!
Make Ahead and Storage
Storing Leftovers
If you happen to have any Red, White and Blue Deviled Eggs left, cover them tightly and store in the fridge on a rimmed plate or in a deviled egg tray. They’ll stay fresh for up to two days; just note that the vibrant colors may soften a bit over time.
Freezing
Unfortunately, deviled eggs don’t freeze well. The filling tends to separate and can become watery after thawing, so it’s best to simply refrigerate any extras and enjoy them while they’re at their freshest.
Reheating
There’s really no need to reheat Red, White and Blue Deviled Eggs. Serve them directly from the fridge for best flavor and texture. If they’ve sat out a while, pop them back in the fridge for a quick chill before serving again.
FAQs
Can I use liquid food coloring instead of gel?
Gel food coloring is much more concentrated than liquid and delivers those bold, patriotic hues without making the eggs watery. If you only have liquid food coloring, you might need to use a bit more, but keep the water baths shallow to avoid diluting the colors.
How do I keep the eggs from breaking when using toothpicks?
Gently insert the toothpicks only about a quarter of an inch through the center of each egg. Avoid forcing them, and use eggs that have fully cooled—this helps the whites stay firm and reduces the risk of splitting.
Can I make Red, White and Blue Deviled Eggs in advance?
Absolutely! You can dye and halve the eggs a day in advance and prepare the filling separately. Keep both parts refrigerated, then pipe and finish with garnishes the day you plan to serve them for best results.
What can I substitute for horseradish if I don’t like it?
If horseradish isn’t your thing, try Dijon or spicy brown mustard for tangy, flavorful results. Even a spoonful of relish or a dash of hot sauce adds character without overwhelming heat.
How do I prevent the dyed eggs from staining my hands?
Wear plastic gloves when handling the eggs during the dying process and use tongs or a fork to move the eggs in and out of the dye. Any small food coloring stains on hands will wash off quickly with soap, but gloves make cleanup a breeze.
Final Thoughts
There’s nothing quite like the reaction you’ll get when you bring out a platter of Red, White and Blue Deviled Eggs—they’re a guaranteed conversation starter and always the first to disappear. Whether you’re hosting a patriotic bash or just want to add a little extra joy to your table, give these festive eggs a try and enjoy the delighted smiles from every guest!
Print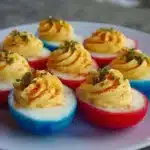
Red, White and Blue Deviled Eggs Recipe
- Total Time: 1 hr
- Yield: 16 egg halves
- Diet: Vegetarian
Description
These festive Red, White, and Blue Deviled Eggs are a patriotic twist on a classic appetizer, perfect for Fourth of July or any patriotic celebration. Hard-cooked eggs are dyed in red and blue colors, filled with a flavorful, creamy mixture, and garnished for a stunning presentation.
Ingredients
For Dyeing Eggs:
- 3 drops red gel food coloring
- ⅔ cup water, or as needed
- 2 drops blue gel food coloring
- toothpicks
For Deviled Eggs:
- 8 hard-cooked eggs, peeled
- 2 ½ tablespoons mayonnaise
- 1 tablespoon hot prepared horseradish
- 1 teaspoon rice vinegar
- ⅛ teaspoon salt, or to taste
- 1 pinch fresh-ground black pepper
- ¼ teaspoon smoked hot paprika
- 1 teaspoon snipped fresh chives (Optional)
Instructions
- Dyeing Eggs: Combine red food coloring and 1/3 cup water in a ramekin. Repeat with blue food coloring in another ramekin. Use toothpicks to dip eggs in colors, creating red, white, and blue bands. Let dry on paper towels.
- Preparing Filling: Slice colored eggs in half and set whites aside. Push yolks through a sieve into a bowl. Mix yolks with mayonnaise, horseradish, vinegar, salt, and pepper until smooth.
- Assembly: Pipe filling into egg white halves. Dust with paprika using a strainer and sprinkle with chives. Chill before serving.
Notes
- You can adjust the intensity of the colors by varying the dyeing time.
- For a spicier kick, add more horseradish to the filling.
- Prep Time: 30 mins
- Category: Appetizer
- Method: Dyeing, Mixing, Piping
- Cuisine: American
Nutrition
- Serving Size: 1 deviled egg half
- Calories: 72
- Sugar: 0.2g
- Sodium: 99mg
- Fat: 5.2g
- Saturated Fat: 1.3g
- Unsaturated Fat: 3.4g
- Trans Fat: 0g
- Carbohydrates: 0.3g
- Fiber: 0g
- Protein: 6.3g
- Cholesterol: 187mg

