If you’ve been on the lookout for a vibrant, luscious spread that sings with the flavors of summer, then this Homemade Cherry Jam Recipe will absolutely steal your heart. Bursting with fresh cherry goodness, balanced by just the right touch of sweetness and a hint of bright lemon, this jam is a delight to make and even more joyful to savor. Whether slathered on warm toast or dolloped over creamy yogurt, this recipe brings cozy charm and rich fruity flavor to your kitchen with every spoonful.
Ingredients You’ll Need
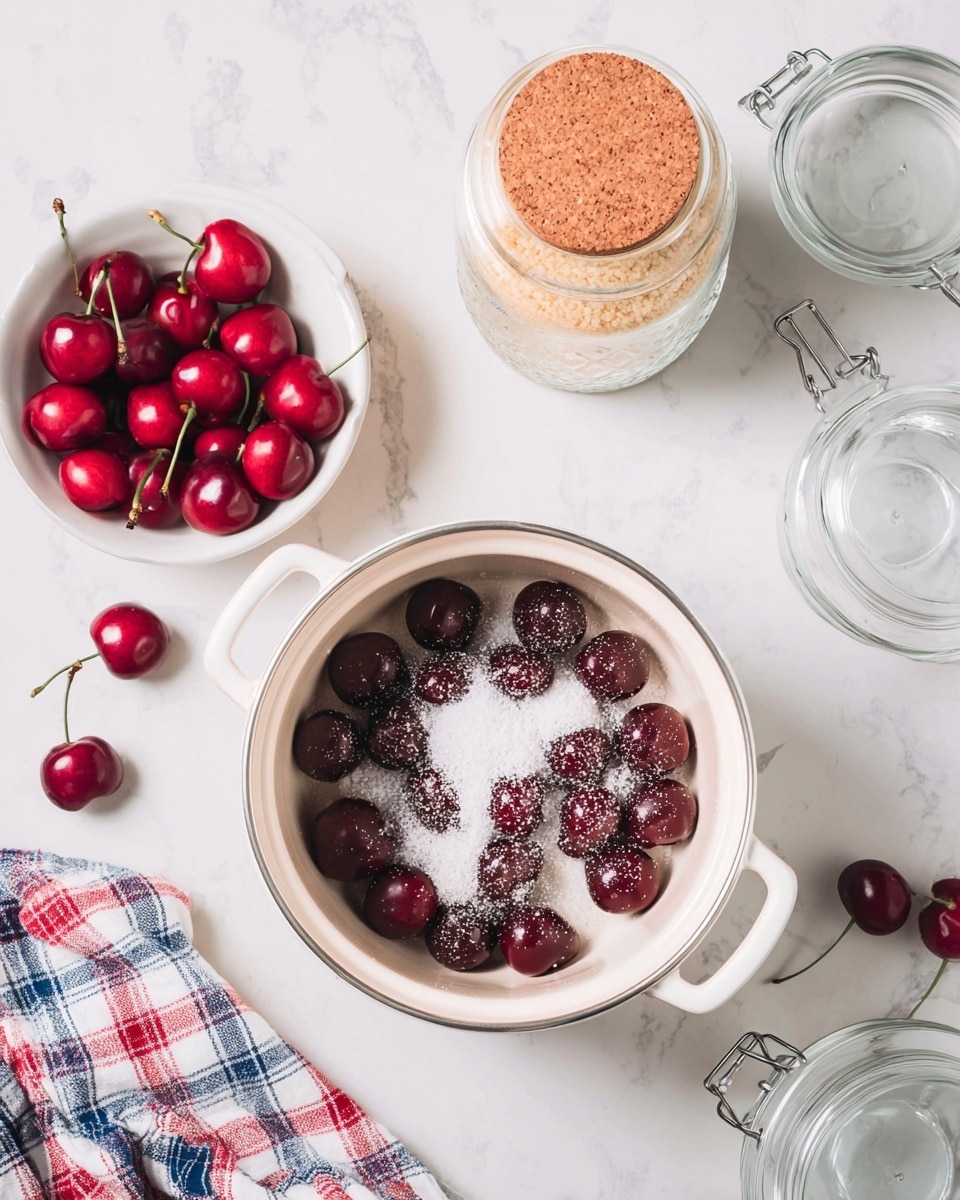
Creating your own cherry jam is surprisingly simple, and the ingredients are straightforward but powerful in flavor. Each component plays an important role in making the jam perfectly textured and deliciously balanced.
- 3 Cups cherries (fresh or frozen, pitted, about 16 Ounces): The star of the show, cherries provide the beautiful color and natural sweetness.
- ½ Cup granulated sugar: Sweetens the tart cherries while helping to preserve the jam.
- ½ Teaspoon lemon juice (fresh): Adds bright acidity that lifts the flavor and assists in setting the jam.
- ½ Teaspoon almond extract (optional): Introduces a subtle nuttiness that elevates the cherry’s natural aroma.
How to Make Homemade Cherry Jam Recipe
Step 1: Prepare the Cherries
The very first job is to make sure your cherries are ready for cooking. If you’re using fresh cherries, remove all the stems and pits. For frozen cherries, give them a quick thaw by warming gently in a heavy-bottomed pot over medium heat, stirring constantly so they don’t stick or burn. This wakes up the cherries and gets them ready to release their juice.
Step 2: Combine Cherries and Sugar
Add your pitted fresh cherries (or the thawed ones) to your pot with half a cup of sugar. Stir frequently over medium heat for around 7 to 9 minutes. You’ll see the cherries start to soften and burst, releasing their natural juices, which begins to form the jam’s luscious base.
Step 3: Bring to a Boil
Crank the heat up to medium-high and bring the mixture to a full boil. Keep it boiling for 7 to 9 minutes between 205 and 212 degrees Fahrenheit. This stage thickens the jam and intensifies the cherry flavor. Be attentive and stir often so nothing sticks or burns.
Step 4: Break Down the Cherries
As the jam thickens, start mashing the softened cherries with a spoon or potato masher. This step is key to achieving that perfect jam texture — chunky yet spreadable. Keep stirring and mashing, and you’ll notice the consistency turn beautifully rich and jammy.
Step 5: Simmer and Finish
Lower the heat to a gentle simmer for another 5 to 7 minutes. This lets the jam develop body without burning. Now’s the time to stir in the fresh lemon juice and almond extract if you’re using it. Take the pot off the heat and let your homemade cherry jam cool for about 15 minutes in the pan before transferring.
Step 6: Jar and Chill
Pour the jam carefully into a clean mason jar and let it rest for about one hour with the lid off to cool completely. Once cooled, seal the jar and place it in the refrigerator. Your Homemade Cherry Jam Recipe is now ready to brighten up your mornings or make a thoughtful gift!
How to Serve Homemade Cherry Jam Recipe
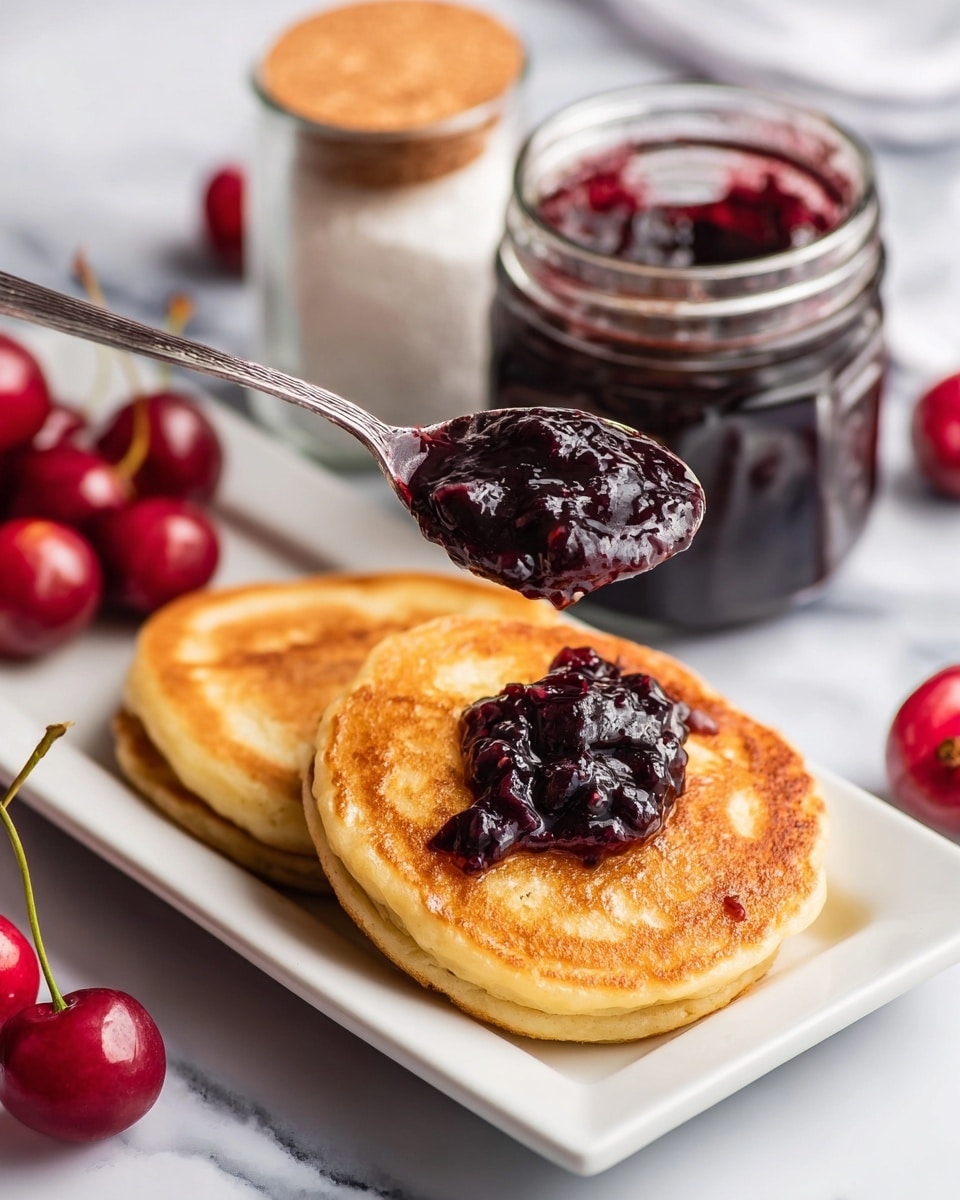
Garnishes
Adding a bit of flair when serving is so rewarding. Fresh mint leaves or a light sprinkle of toasted almond slivers on top can bring delightful texture and a fresh aroma that pairs perfectly with the rich cherry jam.
Side Dishes
This jam pairs wonderfully with breakfast favorites like buttery croissants, fluffy pancakes, or even a warm slice of rustic bread. It also complements savory cheeses, like brie or goat cheese, making it great on a cheese board for snacks or entertaining.
Creative Ways to Present
Try swirling some homemade cherry jam into plain Greek yogurt for an easy parfait or spooning it over vanilla ice cream for a quick dessert. It’s also heavenly as a glaze on baked meats like pork or chicken, giving your meal a sweet, tangy uplift that will impress everyone at the table.
Make Ahead and Storage
Storing Leftovers
Your jam will keep nicely in the fridge for up to three weeks. Always use clean utensils to avoid contamination, preserving that fresh homemade flavor and bright cherry notes each time you open the jar.
Freezing
If you want to enjoy your jam longer, freezing is a great option. Store it in an airtight container, leaving some space at the top for expansion. Frozen cherry jam can last several months without losing its taste or texture.
Reheating
When you want to soften chilled jam or use it warm, gently heat it on the stove over low heat or microwave in short bursts, stirring occasionally. This helps the jam regain a spreadable, luscious consistency without cooking it further.
FAQs
Can I use frozen cherries directly for this Homemade Cherry Jam Recipe?
Absolutely! Just be sure to thaw them gently in the pot over medium heat for a few minutes before adding sugar. This quick thaw helps them release juices evenly for the best consistency.
Is the almond extract essential in this recipe?
Not at all. It’s optional, but a little almond extract adds a lovely depth and complements the cherry flavor beautifully. Feel free to skip it if you prefer a more straightforward cherry taste.
How long does homemade cherry jam last without preservatives?
When refrigerated, it should last up to three weeks. For longer storage, freezing or processing in sterilized jars through canning is recommended to keep it fresh for months.
Can I reduce the sugar in this recipe?
You can reduce the sugar, but remember it also acts as a preservative and helps the jam set. Lower sugar means a shorter shelf life and a softer set, so balance this based on your taste and shelf life preference.
What is the best way to pit cherries quickly?
Using a cherry pitter is the easiest method. Alternatively, you can push a straw or small metal tube through the cherry to pop out the pit fast and efficiently without squashing the fruit.
Final Thoughts
Making your own Homemade Cherry Jam Recipe is such a rewarding experience — it fills your kitchen with irresistible aromas and puts a personal touch on every jar. Once you taste that sweet, slightly tangy, fresh cherry flavor, you’ll know this jam is something truly special and worth making again and again. Pop this recipe on your to-do list and get ready for some seriously delicious jam moments ahead!
Print
Homemade Cherry Jam Recipe
- Total Time: 3 hours 30 minutes
- Yield: Approximately 2 half-pint jars
Description
This homemade Cherry Jam recipe transforms fresh or frozen cherries into a luscious, sweet spread perfect for toast, desserts, or gifts. The process involves gently cooking cherries with sugar and lemon juice to unlock their natural flavors, then simmering until thickened to create a smooth, rich jam infused with an optional hint of almond extract.
Ingredients
Ingredients
- 3 cups cherries (fresh or frozen, pitted, about 16 ounces)
- ½ cup granulated sugar
- ½ teaspoon fresh lemon juice
- ½ teaspoon almond extract (optional)
Instructions
- Prepare Cherries: If using fresh cherries, remove the stems and pits carefully to prepare them for cooking.
- Thaw Frozen Cherries: For frozen cherries, place them in a heavy-bottomed 4-quart pot and cook over medium heat for 3 to 4 minutes, stirring constantly to thaw quickly. Skip this step if using fresh or already thawed cherries.
- Add Sugar and Cook: Add fresh cherries to the pot along with ½ cup of granulated sugar. Cook over medium heat, stirring occasionally for 7 to 9 minutes, allowing the cherries to release their juices and soften.
- Boil the Mixture: Increase the heat to medium-high to bring the cherries to a boil. Maintain a rolling boil between 205 to 212°F (96 to 100°C) and continue cooking for another 7 to 9 minutes while stirring.
- Break Up Cherries: As the cherries soften, press and break them up gently while stirring to encourage even cooking and release juices.
- Simmer and Mash: Reduce heat to low and simmer the jam for 5 to 7 minutes. Use a potato masher to crush any larger cherry pieces, ensuring a smooth consistency. Stir frequently to prevent sticking.
- Add Flavorings and Cool: Stir in ½ teaspoon fresh lemon juice and ½ teaspoon almond extract if desired, then remove from heat. Allow the jam to cool in the pot for 15 minutes.
- Jar the Jam: Pour the cooled jam into sterilized mason jars. Let the jars sit at room temperature for 1 hour before sealing with lids.
- Refrigerate: Store the sealed jars in the refrigerator until ready to enjoy or gift.
Notes
- Use firm but ripe cherries for the best flavor and texture.
- Almond extract adds a nice complementary flavor but can be omitted if preferred.
- Ensure consistent stirring during cooking to prevent burning or sticking.
- Sterilize jars properly before jarring to extend shelf life.
- Use a candy thermometer to monitor boiling temperature for ideal jam consistency.
- Frozen cherries should be fully thawed for best results or rapidly thawed on the stovetop as described.
- Prep Time: 15 minutes
- Cook Time: 25 minutes
- Category: Condiment
- Method: Stovetop
- Cuisine: American

