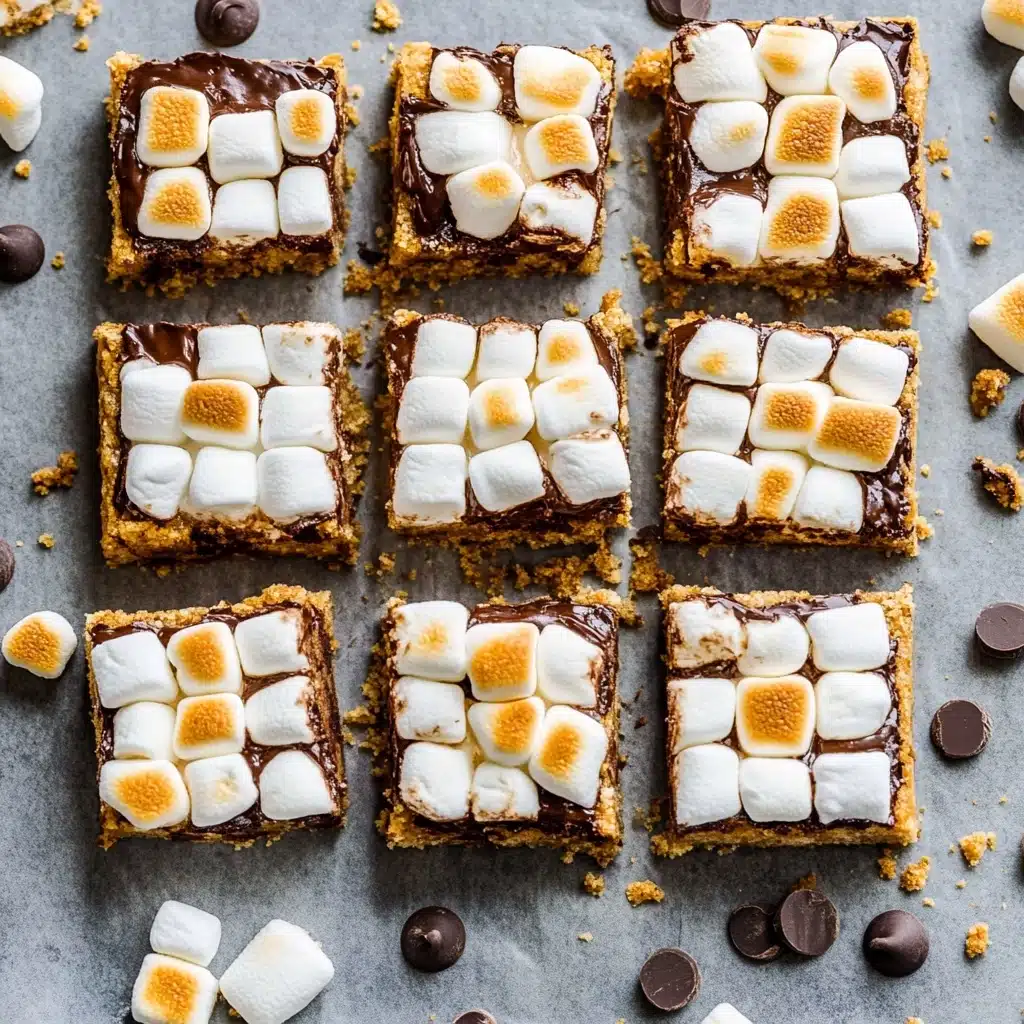
If you thought the magic of a campfire s’more only belonged to summer nights under the stars, let me introduce you to the cozy wonder that is S’more Bars. Imagine crunchy graham layers, dreamy pools of chocolate, and a gooey, toasted marshmallow blanket—all baked together in one easy pan. With just a handful of ingredients, these bars bring back every nostalgic campfire moment, no sticks (or smoky hair) required. Whether you’re hosting a gathering, fixing a sweet treat for family night, or simply craving a little indulgence, S’more Bars are an absolute crowd-pleaser destined to become a repeat favorite in your dessert lineup.
Ingredients You’ll Need
These S’more Bars prove that less is truly more. Each ingredient is carefully chosen for maximum flavor and wonderfully satisfying texture—here’s how every simple addition makes this treat an irresistible classic.
- Graham cracker crumbs: The essential base for S’more Bars, bringing that familiar honeyed crunch you know and love.
- Melted butter: It’s the golden glue that binds the crumbs together, adding richness and depth to every bite.
- Chocolate chips: Melt into a decadent layer that beautifully mimics the melty chocolate of a classic s’more.
- Mini marshmallows: They puff and toast perfectly, providing that gooey, caramelized topping everyone craves.
How to Make S’more Bars
Step 1: Prepare Your Pan
Start by preheating your oven to 350°F and greasing a 9×13-inch pan with cooking spray. This quick step ensures your S’more Bars will release effortlessly, so you get perfect squares every time.
Step 2: Mix and Layer the Crust
In a medium bowl, mix together the graham cracker crumbs and melted butter until every crumb is well-coated. Pour this sandy mixture into the pan and use your fingers or the back of a measuring cup to press it firmly onto the bottom and up the sides. The tighter you pack it, the better the crust holds together.
Step 3: Bake the Crust
Slide that pan into the oven and bake for 8 minutes. This sets the base, giving your S’more Bars a toasty, irresistible foundation that won’t get soggy beneath the layers of chocolate and marshmallow.
Step 4: Layer on the Chocolate and Marshmallows
Straight from the oven, sprinkle chocolate chips evenly across the warm crust, followed by a generous layer of mini marshmallows. The heat from the crust helps begin the melty magic before it goes back in the oven.
Step 5: Bake Until Toasted and Gooey
Return the pan to the oven for about 20 minutes, or until the marshmallows are puffed up and golden brown on top. The chocolate will be perfectly melty, and the marshmallow tops will look gloriously toasted—just like that campfire treat.
Step 6: Cool and Chill
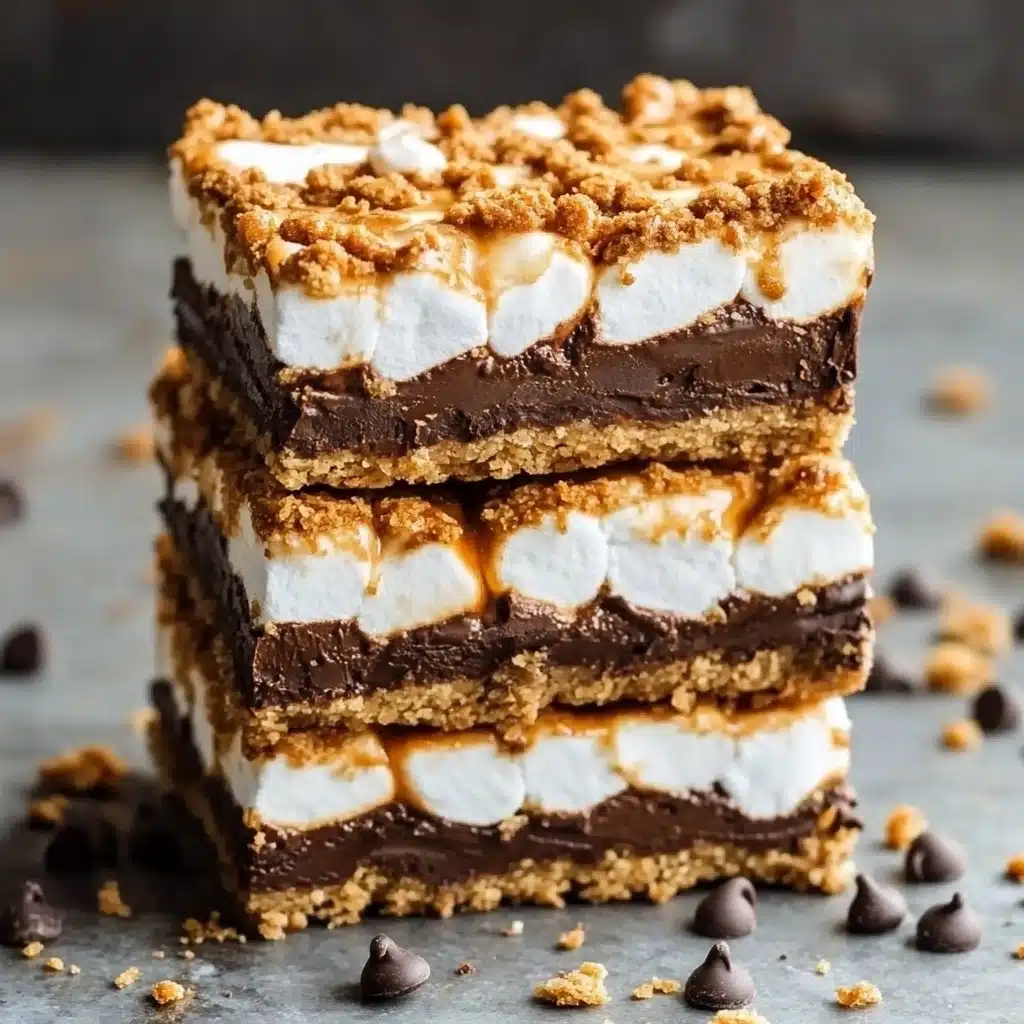
Let your S’more Bars cool out of the oven, then pop the pan in the fridge to fully set. This step makes slicing a breeze and ensures you get those clean, tempting layers in every square.
How to Serve S’more Bars
Garnishes
A sprinkle of flaky sea salt right on top warms up the flavors and gives the S’more Bars a delightful contrast with just a hint of sophistication. For extra fun, try drizzling some melted chocolate or a dusting of crushed graham crackers before serving.
Side Dishes
Pair your S’more Bars with a scoop of your favorite vanilla ice cream or a frosty glass of cold milk. For a grown-up twist, a rich, dark coffee balances out the sweetness beautifully. If you’re feeling extra festive, fresh strawberries or raspberries add a bright, juicy bite alongside the rich bars.
Creative Ways to Present
Transform S’more Bars into the star of your dessert table by serving on a rustic wooden board with mini skewers, or cut them into bite-sized cubes and thread onto lollipop sticks for a playful party treat. You can also wrap individual bars in parchment and twine for grab-and-go summer picnic goodies.
Make Ahead and Storage
Storing Leftovers
Keep any leftover S’more Bars in an airtight container in the fridge and they’ll stay perfectly fresh for up to five days. As they chill, the flavors meld even more and the bars become delightfully chewy—trust me, they taste just as great on day two.
Freezing
To freeze S’more Bars, cut them into squares and wrap each one tightly in plastic wrap, then layer into a freezer-safe bag or container. They’ll last up to three months and can be thawed at room temperature whenever a craving hits.
Reheating
If you love your S’more Bars warm and gooey, zap them in the microwave for about 10-15 seconds, or until just soft. The chocolate turns melty, and the marshmallows soften up, making for an ultra-decadent treat that tastes freshly baked.
FAQs
Can I use regular marshmallows instead of mini?
Absolutely! Just cut large marshmallows into halves or quarters so they melt and toast evenly across the bars. It’s a great way to use what you have on hand.
What’s the best way to cut S’more Bars neatly?
Let them chill completely in the fridge before cutting, and use a sharp, slightly greased knife. Wipe the blade between cuts for super tidy squares with gorgeous, defined layers.
Can I add peanut butter or other mix-ins?
Totally! Swirl a little peanut butter into the chocolate layer or sprinkle in chopped nuts for crunch. S’more Bars are wonderfully versatile, so feel free to get creative with your favorites.
Do I need to use a 9×13 pan, or can I scale this recipe?
You can easily halve the ingredients and use an 8×8 pan for a smaller batch, or double for a party-sized crowd. Just keep an eye on bake times, as smaller pans may need a bit less time in the oven.
Why do my marshmallows get super soft after chilling?
That’s totally normal. Marshmallows absorb some moisture in the fridge and become a bit softer. If you prefer them extra toasty, give each square a quick broil or torch before serving for that classic campfire texture.
Final Thoughts
No campfire? No problem! S’more Bars are your shortcut to all the gooey, chocolatey, graham-crunch nostalgia—right from your own kitchen. I hope you’ll give these a try and let them work their sweet magic at your next family gathering or solo treat night. Happy baking!
Print
S’more Bars Recipe
- Total Time: 58 minutes
- Yield: 6 servings
- Diet: Vegetarian
Description
These easy S’more Bars capture the nostalgic campfire treat in a blissfully simple, four-ingredient dessert—no fire required! Layers of buttery graham cracker crumbs, gooey chocolate chips, and golden marshmallows will satisfy any sweet tooth in just under an hour.
Ingredients
For the Crust
- 2 cups graham cracker crumbs
- 1/2 cup melted butter
For the Topping
- 4 cups chocolate chips
- 1 package mini marshmallows
Instructions
- Preheat and Prepare Pan: Preheat your oven to 350°F (175°C). Grease a 9×13-inch baking pan generously with cooking spray to prevent sticking.
- Make Graham Cracker Crust: In a mixing bowl, combine the graham cracker crumbs with the melted butter. Stir until the mixture looks like wet sand and is evenly moistened.
- Form the Base: Sprinkle the graham mixture into the prepared baking dish. Press it firmly into the bottom and slightly up the sides using your fingers or the back of a measuring cup to create a solid base.
- Bake the Crust: Place the pan in the preheated oven and bake for 8 minutes. This helps set the crust and gives it a lovely toasty flavor.
- Add Chocolate Chips and Marshmallows: Remove the pan from the oven carefully. Evenly sprinkle the chocolate chips over the hot crust, then top with a generous layer of mini marshmallows.
- Bake Until Golden: Return the pan to the oven and bake for an additional 20 minutes, or until the marshmallows are puffed and golden brown.
- Cool and Refrigerate: Take the pan out and allow the bars to cool completely at room temperature. Then, place the pan in the refrigerator to set further for easy cutting.
- Cut and Serve: Once chilled, slice into squares or bars and enjoy your homemade S’more Bars!
Notes
- For an extra-decadent touch, add a sprinkle of sea salt over the chocolate layer before baking.
- Ensure the bars are well chilled for easier cutting and cleaner slices.
- Store leftovers in an airtight container in the fridge for up to 5 days.
- Feel free to swap milk chocolate chips for semi-sweet or dark chocolate chips based on your preference.
- Prep Time: 30 minutes
- Cook Time: 28 minutes
- Category: Desserts
- Method: Baking
- Cuisine: American
Nutrition
- Serving Size: 1 bar
- Calories: 525
- Sugar: 42g
- Sodium: 220mg
- Fat: 29g
- Saturated Fat: 16g
- Unsaturated Fat: 11g
- Trans Fat: 0.5g
- Carbohydrates: 68g
- Fiber: 3g
- Protein: 5g
- Cholesterol: 35mg


